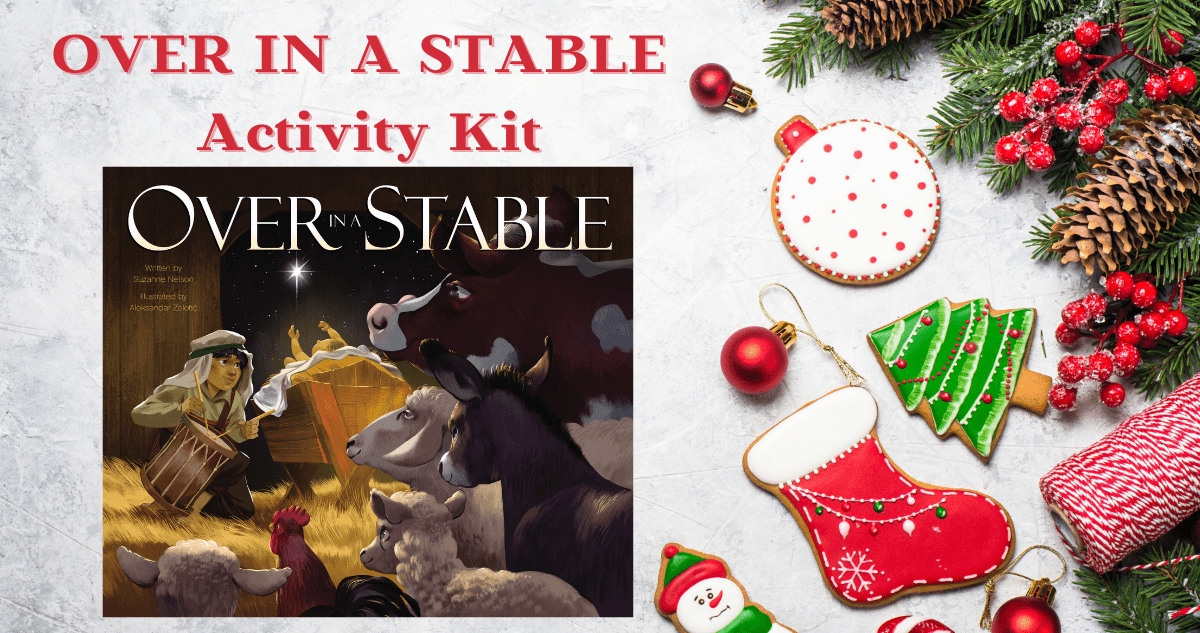
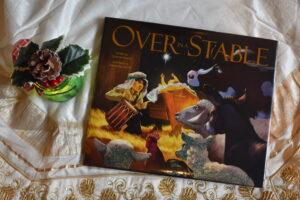
Over in a Stable, my Christmas picture book debut with HarperCollins Zonderkidz, is out in bookstores!
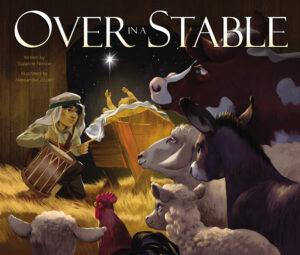
(Order a copy of Over in a Stable today.)
To celebrate, I’ll be posting some festive DIY craft ideas for you and your little ones to try this holiday season. Today, I’ll show you how to make your own nativity nighlight using common household items.
A Nightlight Aglow with Christmas Cheer

This is a quick and easy craft and one that promises to bring a warm glow to every young reader’s heart.
Here is what you need to get started:
Materials
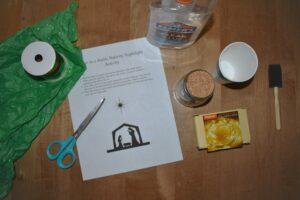
- Festive, fun tissue paper
- Craft glue (I used Elmer’s clear craft glue, which worked great!)
- A sponge brush and bristle brush
- A mason jar
- 1 set of small battery-operated white lights
- Scissors
- Christmas ribbon, lace, pinecones, or any fun items you want to use to decorate the lid of your jar
- A printout of the Nativity Nightlight silhouette activity sheet, provided here:
OVER IN A STABLE Nativity Nightlight Activity
Instructions
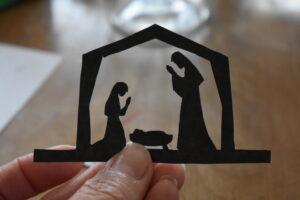
First, print out the nativity printable included here.
Using craft scissors, carefully cut out the nativity silhouette and the North Star.
Cutting the silhouette

Gluing the silhouette
Next, apply glue to the front side of the silhouette.
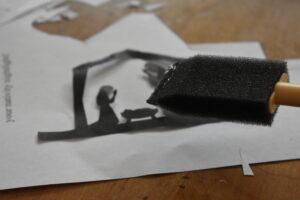
While the glue is wet, press the silhouette to the inside of the mason jar.
Follow the same steps to attach the North star silhouette as well.
Your mason jar will look something like this:
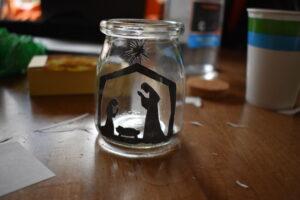
Allow the glue to dry before moving onto the next step.
Covering the jar in tissue paper
Once the silhouette is dry, cut several pieces of tissue paper approximately the same height as your mason jar.
Then, glue the tissue paper to the outside of the jar until the a thin layer of tissue paper surrounds the jar.

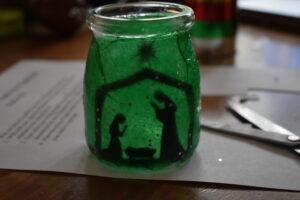
Allow the tissue paper to dry. You should be able to see the nativity silhouette through the tissue paper.
Decorating your nightlight
Now it’s time to decorate the lid of your nightlight!
Tie a ribbon around the top of the jar. If you want, glue some fun, festive objects to the top of the jar.
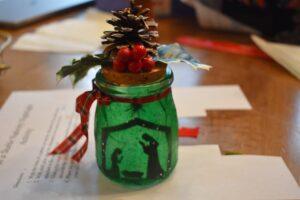
I chose to glue a pinecone and some plastic holly berries and leave to my lid.
Making your nightlight glow!
It’s time to light up your nightlight. Carefully remove the lid, and place your string of lights inside. Turn them on and close the lid.
Now, you’re ready to cuddle up to read Over In A Stable by the light of your luminous, Christmas nightlight!
Stay tuned in coming weeks for more fun Over in a Stable crafts for you and your little ones as you celebrate the Christmas season! Click here if you’d like to order a copy of Over in a Stable today.