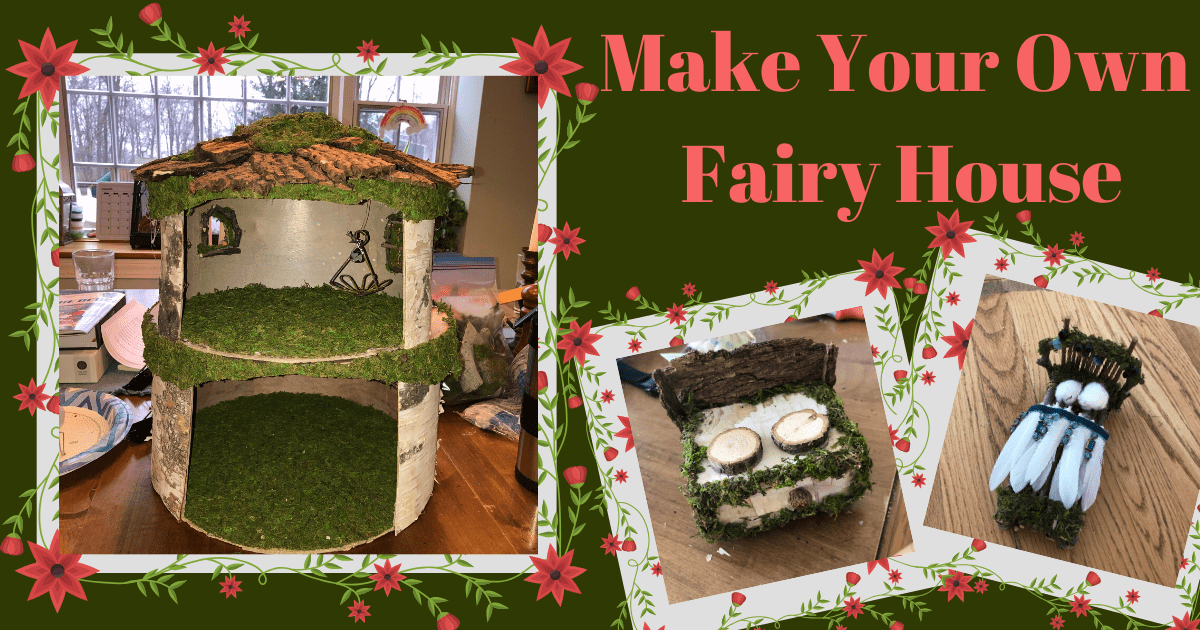
My daughter asked for a fairy house for Christmas. She was very specific that it should be two stories and be made from a tree like a real fairy might have. Because I’ve always loved a challenge and also love arts and crafts projects, I decided to make one for her myself. Once I decided on the materials I was going to use, the fun started! I re-purposed some household items and collected some natural items from our backyard. With the help of a glue gun and some patience, I built a house and fairy furniture. If you want to give it a try, here’s how to do it.
Fairy House Materials
Materials:
- Two hat boxes
- Flat, rectangular or square pieces of birch bark (I harvested some shed bark from trees in my neighborhood and also found some bark online at Etsy.
- 10-12 binder clips
- Loose pieces of bark (of various sizes and lengths)
- Leather twine
- A paracord stitching needle
- Preserved moss (can be found at Michael’s or Hobby Lobby)
- Small tree branches or twigs
- A hot glue gun and plenty of glue sticks
- Mod Podge
- Decorative scrap-booking paper for the interior house walls
- Scissors or an X-acto knife
- 2-3 empty toilet paper rolls
Building Your House
Directions:
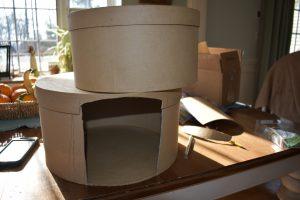
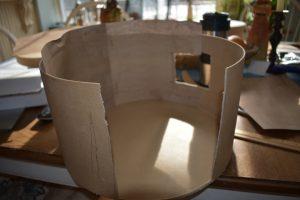
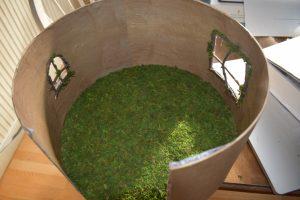
First, decide how big you would like the openings of your fairy house to be. Your house might have windows and a small door, or larger openings to allow people to see inside. I cut two large openings out of each of my two hat boxes, leaving the lids intact. Then I also cut out some small windows.
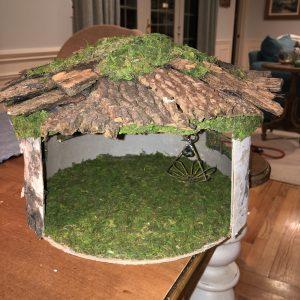
The Inside of the House
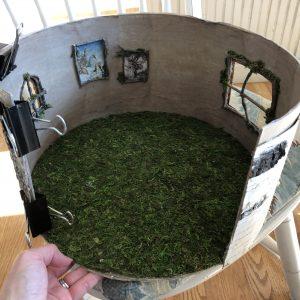
Next, I lined the inside of the boxes with bark-patterned scrap-booking paper. I used Mod Podge to glue the paper to the sides of the boxes, and then brushed a coating of Mod Podge over the top as well. Using my hot glue gun, I glued a border of twigs around each of the windows on the inside walls of the house. You can cover up any glue that’s showing with moss.
I also printed out some fun mini fairy pictures and glued those down with twig borders as well.
After “tracing” the outline of each box’s bottom onto a sheet of crafting moss with an x-acto knife, I cut out the moss in circular shapes. I glued each circle onto the bottom of each hat box.
The Outside of the House
Next, I measured and cut pieces of birch bark so that I had enough pieces to wrap around the outside of each hat box. I measured to about an inch from the top of the box, so that I could fit the hat box lid over both the box and the bark. The lid helped to secure and hold down the bark. You need to use bark that is thin and pliable.
If your bark isn’t bending easily, you can steam it over a pot of boiling water. Hold it with tongs and wear oven mitts to avoid burning yourself with the steam.
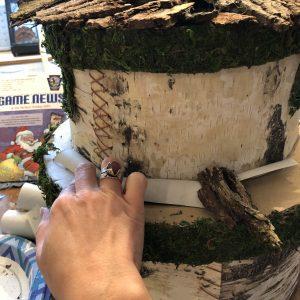
Once you have your pieces of bark measured out, sew them together.
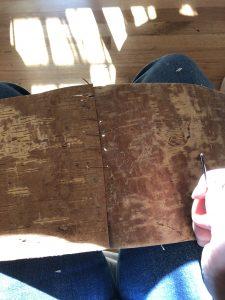
You’ll need one long, rectangular piece of bark for each hat box. Use leather twine and a paracord needle to sew the bark together. It takes times and patience, but the end result is that your bark will be securely attached together and won’t curl away from your hat box.
Now it’s time to glue your birch bark to your hat boxes. Make sure you have enough glue in your glue gun. You’ll need to work quickly to attach the bark, gluing about 4-6 inches of bark down at a time. You can turn the hat box in a circle as you attach the bark. As you work, use binder clips to hold the bark to the top edge of the box so that it stays in place while the glue dries. You can also use wood glue for this, but I found a glue gun is just as effective and takes less time.
Once this step is finished, you can glue twigs around the outside window frames to create a window border.
Next, glue the hat box lids to the top rim of the boxes. You may have to hold the lid in place and apply pressure to the sides to make sure the glue attaches securely.
This was one of the trickiest parts of the process for me. It has to be glued quickly and thoroughly because there’s no way to do it gradually. You can turn the boxes upside down and insert glue in between the lid and the top edge of the box as well. Just make sure it’s secure when you’re finished.
To garnish the lid and door opening, glue moss along the edges of each.
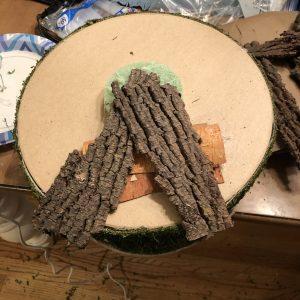
Making the Roof
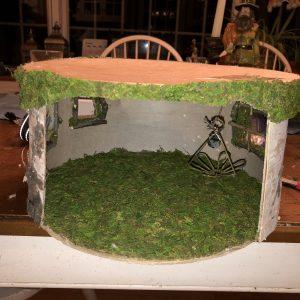
Next, I built the roof for the top story of the house. I used a bit of styrofoam as well as toilet paper rolls (cut lengthwise into three our four parts) to create the roof incline. Working with one or two pieces of bark at a time, I layered the bark, gluing pieces to each other and the box. I worked in a circle on top of the box until it was covered in bark and had a peak in the center. Then I added some moss to cover up any showing glue.
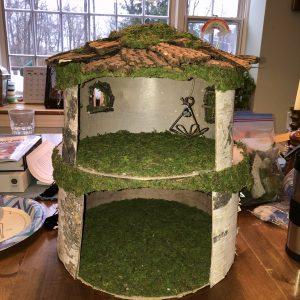
Now it was time to attach the bottom story to the top story. I used the glue gun and a hefty amount of glue. I pressed the ceiling of the bottom box to the floor of the top box until the glue was cooled and hardened.
Then, it was time to finish the second-story roof! I worked around the top of the second story, attaching smaller pieces of wood to cardboard and the box’s edge. Again, I added moss to cover up any showing spots of glue.
The Finished Product
Finally, the house was finished!
Making Fairy Furniture
Once the house was done, I made some fairy furniture to go along with it.
Some suggested materials:
- Hot glue gun and glue sticks
- Birch bark
- Craft moss
- Found twigs and/or bark
- Old costume jewelry or sea shells for decorations
- Crafting wire
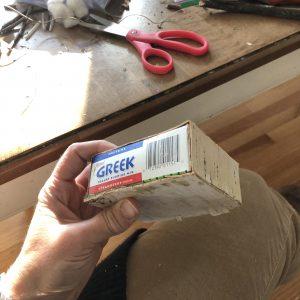
- Repurposed pudding boxes, or small jewelry boxes that can be covered in bark
The sky was the limit when it came to the furniture. I got creative with the glue gun and made a fairy bed and a bookcase.
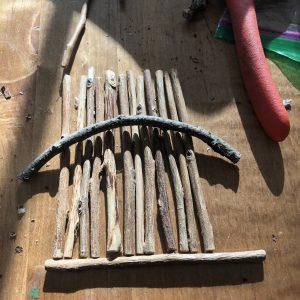
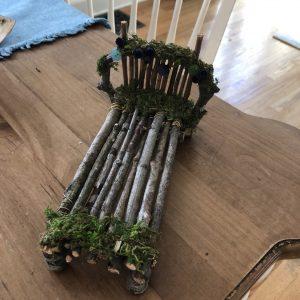
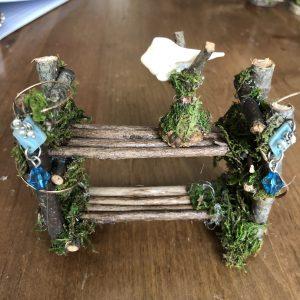
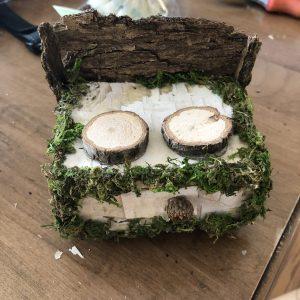
I used twigs for these, but used bark and tree rings to make the table and chairs. I made a sink with a large seashell, a twig, and acorn cap.
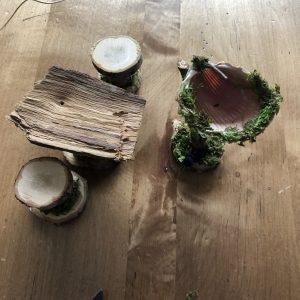
I built a fairy stove by gluing birch bark and moss to a pudding box.
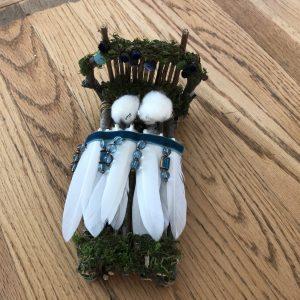
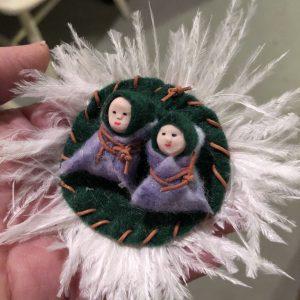
I also made some wee fairy babies out of Sculpey Clay.
I created their nest from felt, leather twine, and feathers.
There’s no wrong way to make fairy furniture. If you have trouble with the glue gun, you can wire twigs together to build furniture, too. I tried both ways. Wire gave the furniture added stability, but the glue gun worked the best.
Have fun with this and be creative! You can make furniture out of simple, repurposed household items that you’d otherwise throw away. Cardboard boxes of all shapes and sizes make a great foundation for building furniture. So do things found outside in nature. Acorns might become tea kettles, acorn caps might become fairy bowls. There are so many different items you can use to make a fairy house interesting and fun.
A DIY fairy house can make a great holiday gift for anyone who loves fairies. Fingers crossed that my daughter is happy with hers when she opens it on Christmas morning!